Affiliate Marketing
September 25, 2026
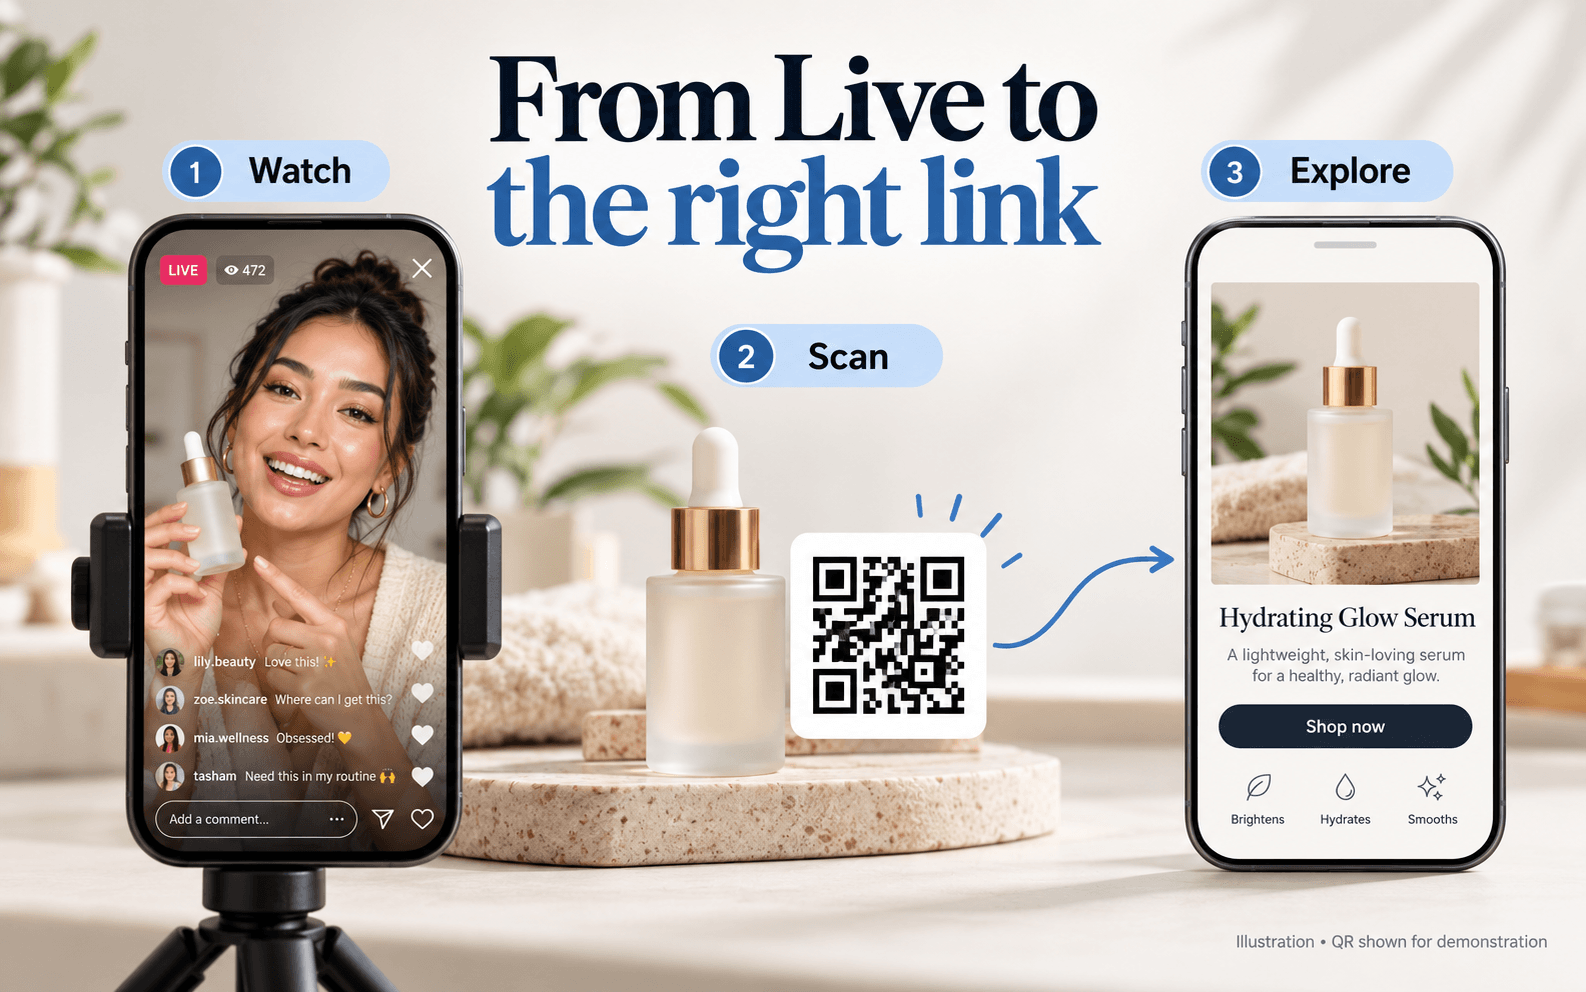
Give viewers a clear route to the product, booking page or resource you are discussing while you are live.
You are demonstrating a product on Instagram Live. Someone asks where to buy it. Saying “link in bio” gives them a route, but they still need to find the right page. A visible QR code can point to that specific destination instead.
This guide shows how to prepare a QR image, display it through your phone camera or a compatible streaming setup, and help viewers use it. SnapScan creates the QR asset; your broadcast setup determines how that asset appears during the Live.
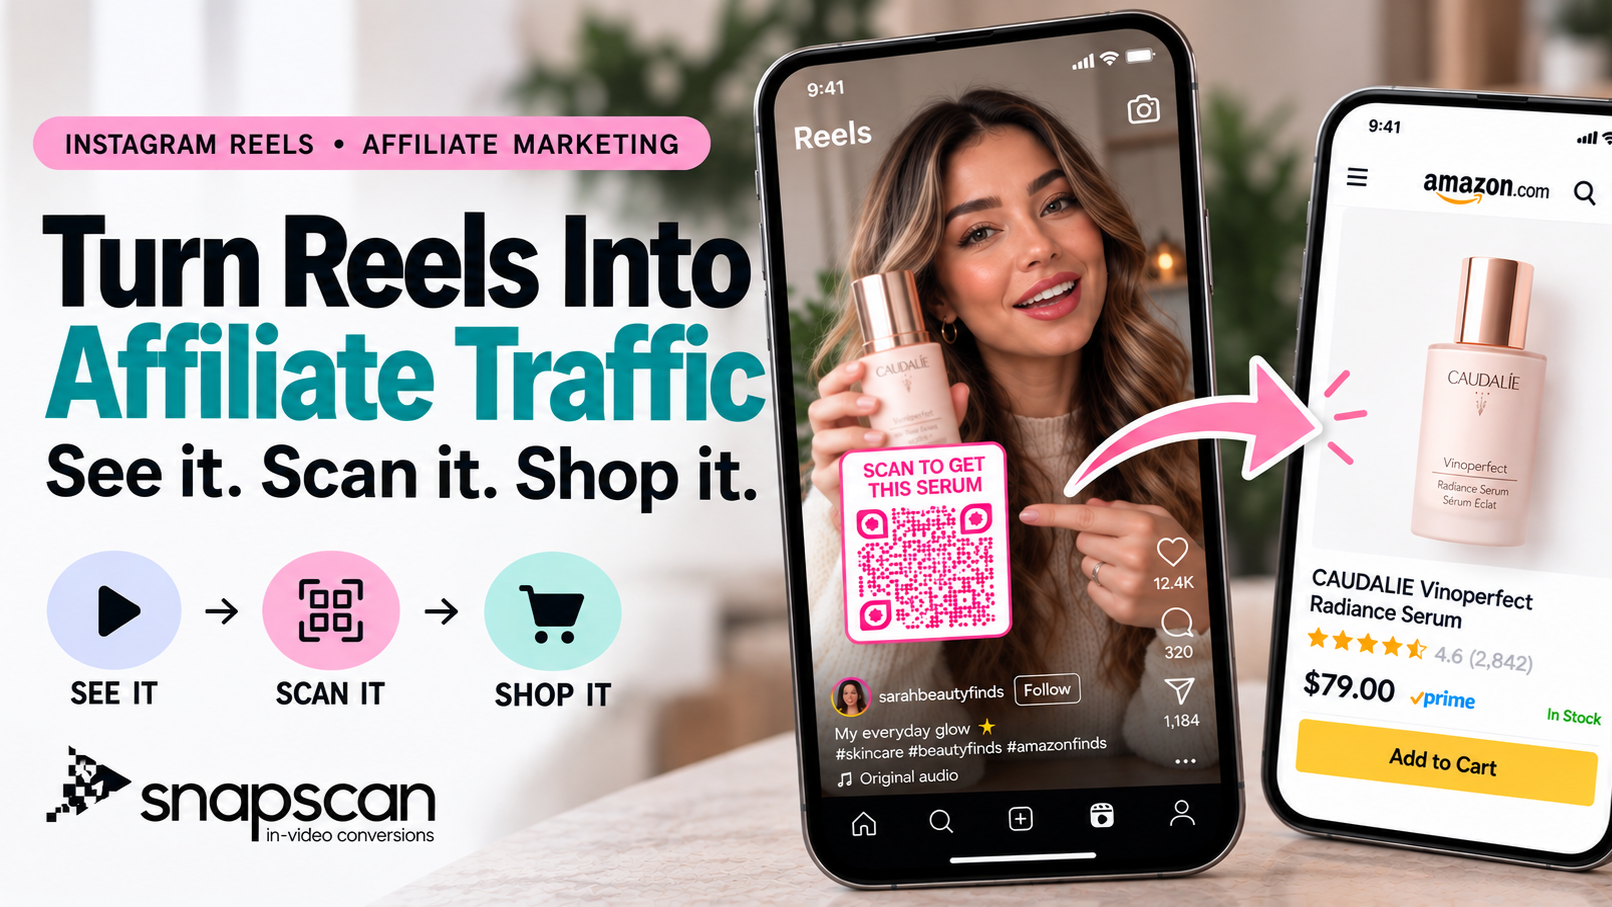
[IMAGE 1 HERE — Hero showing a creator, a visible QR and the matching destination. See image production briefs.]
To add a link to Instagram Live using a QR code, create a code for your destination URL and keep it visible in the broadcast. If you are going live from your phone, put the QR on a printed sign or another screen inside the camera frame. If your account has Instagram Live Producer access, add the QR image to a scene in compatible streaming software and send that scene to Instagram.
The QR is a scannable graphic, not a tappable hyperlink or Instagram Story link sticker. Viewers can use another device to scan it, or use a supported screenshot or screen-recognition method on the phone they are watching. Opening the destination on that phone may interrupt their Live viewing, so offer a profile-link fallback too.
Choose the display method before designing the asset. A layout that works in streaming software may be awkward to film from a tablet. Start by checking that your account can go live and, if you want an overlay, that Live Producer is available. Access and interface options can vary by account; the desktop steps below depend on that access. [1]
For a straightforward mobile broadcast, print the QR or open its image on a tablet or monitor. Position it beside you so viewers can see the whole code. This requires no software overlay: the camera records the sign or screen along with your demonstration. Keep the display stable and avoid glare, flicker or reflections.
Where Live Producer is available, streaming software can combine your camera and QR image into one feed. This gives you more control over size, placement and scene changes. Keep Instagram’s viewer interface in mind: a clean software preview does not prove the QR is unobstructed on a viewer’s phone. [1][2]
If your current Instagram mobile Live interface offers photo or media sharing, you can try the exported QR image there. Test the viewer-side crop and whether the entire code remains visible. Do not assume that every account has an image-upload or arbitrary sticker-overlay control. The physical-display method remains useful when your interface does not offer it.
Use the page that matches your spoken invitation. For a single-product demonstration, link to the exact product. For a class, use the registration page. For a consultation, use your booking page. Open the URL on mobile before creating the QR and check that it does not require an unexpected login.
A broad homepage can make viewers search again. If you will discuss several products, choose a collection page with clear labels and matching images. For affiliate promotions, follow your program’s rules for redirects and QR use and keep the relationship clear in your presentation.
Create an account with SnapScan and use its QR-code or in-image workflow to connect your destination. Add a short CTA, such as “See this serum” or “Book a viewing.” Choose a campaign name you will recognize later. The public product page lists QR codes and in-image renders alongside its video tools. [3]
Use the image export available for the asset you created. Keep the QR square and leave its clear border intact. Test the exported file before using it in a design, then test again after resizing or placing it in the broadcast. A code that works in its original file can become difficult to scan after camera capture or stream compression.
For asset organization and destination management, see how to manage your SnapScan assets. Use a separate QR for each Live when you want to distinguish sessions; reusing the same code in several places mixes their scan activity.
A full vertical graphic works when you want the offer, instructions and QR in one image. Prepare a 9:16 composition, such as a 1080 × 1920 design, with a short headline, a readable code and a simple CTA. This is a design starting point, not a guarantee of Instagram’s current stream output or cropping.
Create the QR through SnapScan and include it in the vertical image. Where your available in-image options support the complete layout, prepare it there; otherwise place the exported QR into your own design. Keep branding outside the code and avoid adding decorative detail that competes with the instruction.
Example copy: “LOVE THIS SERUM? SCAN TO SEE IT.” Put the exact product page behind the code. If you are filming a tablet, place it near the product without blocking your face or demonstration. Increase the size if the QR occupies only a small portion of the camera frame.
In a software broadcast, use the full graphic as an offer scene or beside a smaller camera view. Avoid replacing your demonstration with a full-screen slide for long stretches. Introduce the action, show the image while explaining what happens after scanning, then return to the product.
[IMAGE 2 HERE — Full vertical graphic beside a compact QR sticker; label both as design examples.]
You can also create a smaller QR graphic through SnapScan rather than building the whole broadcast around a background. Think of it as an image containing the code and a brief instruction. Here, “sticker” means a visual asset you place in your stream; it does not mean an Instagram link sticker.
Create the destination QR, customize its readable design, and prepare an image asset using the QR or in-image options available in your account. Keep the code and its clear border on an opaque light background, even if the surrounding graphic is transparent. Transparency behind the code can reduce contrast as your camera scene changes.
For a beauty demonstration, a compact graphic could read “SEE THIS SERUM” above the QR. For an event, use “REGISTER FOR THE WORKSHOP.” The label should describe the destination so viewers know what they will open. Add the graphic to compatible streaming software, or print it on a sign for a phone-camera broadcast.
Place it in open space near the relevant product, keeping it away from captions, comments and your hands. A compact graphic gives you room to keep demonstrating, but do not shrink it until it becomes decoration. Check it on a typical viewer phone before choosing the final size.
If you are searching for how to add an image to Instagram Live, the practical answer depends on how you broadcast. The reliable software approach is to add the image before the feed reaches Instagram. You are composing a video scene, so the same technique can display a logo, product photo or QR graphic.
In OBS, select the scene you will use for the Live. In Sources, choose the plus control and add an Image source. Select your QR image file. Place that source above the camera source in the source list so it appears over the camera, then resize it without stretching it. OBS documents images as one of its supported source types. [2]
Check that the code remains fully inside the canvas. Keep the camera subject, product and image visible together. You can create another scene without the QR for sections where the graphic would obstruct the demonstration, then switch back at the relevant CTA.
Open Instagram’s desktop Live Producer if it is available to your account. Use the stream URL and key it provides in your streaming software’s custom streaming setup. Keep the key private. Start sending the feed from the software, check Instagram’s preview, and use Instagram’s Go Live control when the composition is ready. End the broadcast in Instagram when finished. Follow the current controls and settings shown by Instagram. [1]
A rendered video from SnapScan is a prepared video file; creating that file does not itself add graphics to an ongoing Live. For this workflow you need the exported QR image in your live scene, or the physical sign visible to your camera.
[IMAGE 3 HERE — Actual OBS Image source setup and resulting preview; redact all stream credentials.]
Many viewers will watch on the phone they would otherwise use to scan. Tell them how to proceed instead of simply saying “scan now.” Keep the QR visible while giving the instruction; Live viewers cannot rely on pausing the broadcast to capture it.
On supported phones, they can take a screenshot and open it in a photo app or image-recognition tool that can read QR codes, such as Google Lens. On compatible devices, screen-recognition tools may offer another route. Availability and controls vary, so do not promise one universal button. [4]
Use this spoken instruction: “Screenshot the code, then use your phone’s QR or image scanner to open it. If that is easier later, the same offer is linked in my profile.” Viewers watching on a computer or tablet can scan the screen with a phone camera.
For device-specific instructions, link to how to scan a QR code from a video on your phone. Keep the fallback profile link named after the offer rather than a generic “Shop” label. A helpful fallback makes the invitation usable even when QR recognition is unavailable.
[IMAGE 4 HERE — Screenshot to recognition tool to destination, with device-specific labels.]
Start with dark modules on a plain light background. Preserve the quiet zone, the empty border around the code. Do not place text, a logo or a decorative frame over that border. Keep the original aspect ratio and avoid blur, animation or perspective distortion.
There is no single pixel size that guarantees scanning in every Live. Stream resolution, compression, viewing distance and screen size all affect the result. Increase the displayed code until testers can read it from the actual viewer feed, then keep enough room around it for the interface and your content.
For physical displays, angle the screen to avoid reflections and check its brightness against your lighting. For printed signs, use a crisp print and avoid glossy surfaces. Check the audience feed for mirroring: a mirrored self-preview does not tell you what viewers actually receive.
Keep the QR steady through the relevant segment and repeat the invitation naturally when new viewers join. Avoid flashing it briefly between scene changes. A product demonstration should still show the product clearly; move the graphic if your hands or captions overlap it.
Use the CTA to make the next step specific. “Book this property tour” fits a scheduling page. “Download the checklist” fits a resource page. “See the exact shade” fits a product variant. Explain any signup, payment or form that viewers will encounter after the scan.
For a multi-product Live, a collection page can be more useful than switching one code repeatedly. Name items as you discuss them and keep their thumbnails easy to identify. If you update a dynamic QR destination during a session, test the new page immediately and make sure the on-screen label remains accurate. Saved screenshots may be scanned later.
If you also publish short product clips, see how to add affiliate links to Instagram Reels. A recorded Reel has a different preparation workflow from a Live, even when both use the same destination. Match each format’s instructions and QR placement to its viewer interface.
Run a rehearsal with the finished image, camera, lighting and stream composition. Ask a tester to view the feed on another account where possible. Scan from that viewer screen and from a screenshot, then verify the exact destination on mobile. Test the fallback profile link too.
Check six things: the entire code is visible; the CTA is readable; comments do not cover it; the destination matches the offer; the mobile page loads; and the code works after the stream has compressed the image. Test any scene switches you plan to use, including returning to the QR scene.
Keep the asset easy to find and have a printed sign or alternate screen ready if the overlay fails. If a link or offer changes, correct it before inviting viewers to act. After the Live, test any saved replay separately because cropping and presentation can differ.
[IMAGE 5 HERE — Audience-view test with comments visible and the QR clear of the interface.]
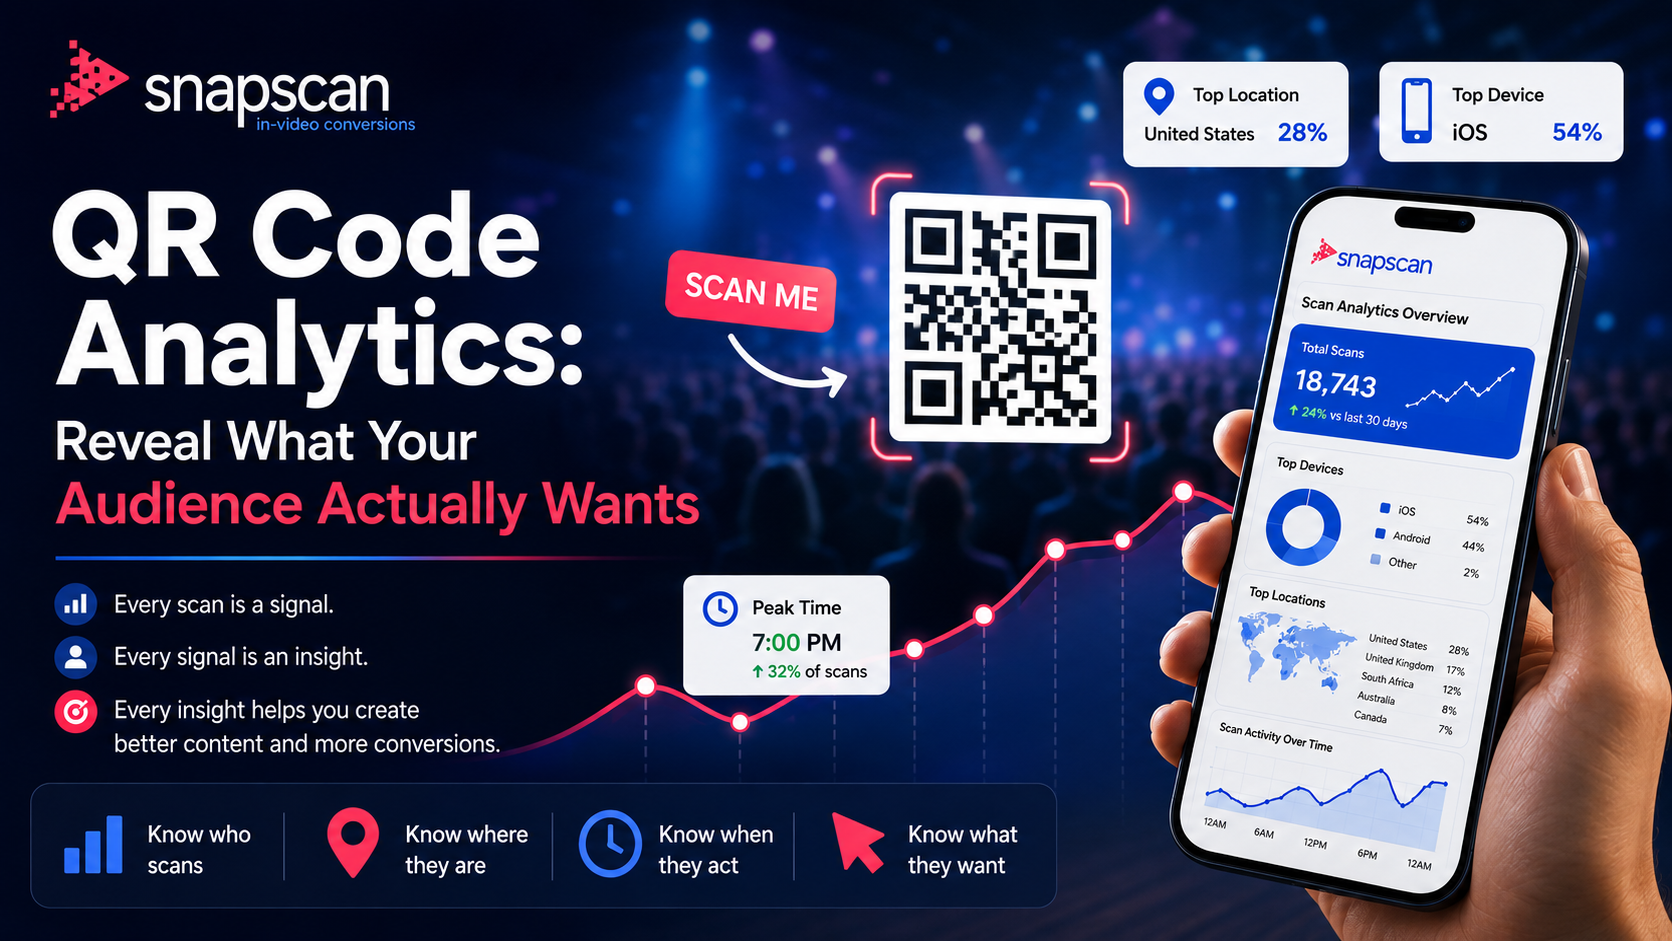
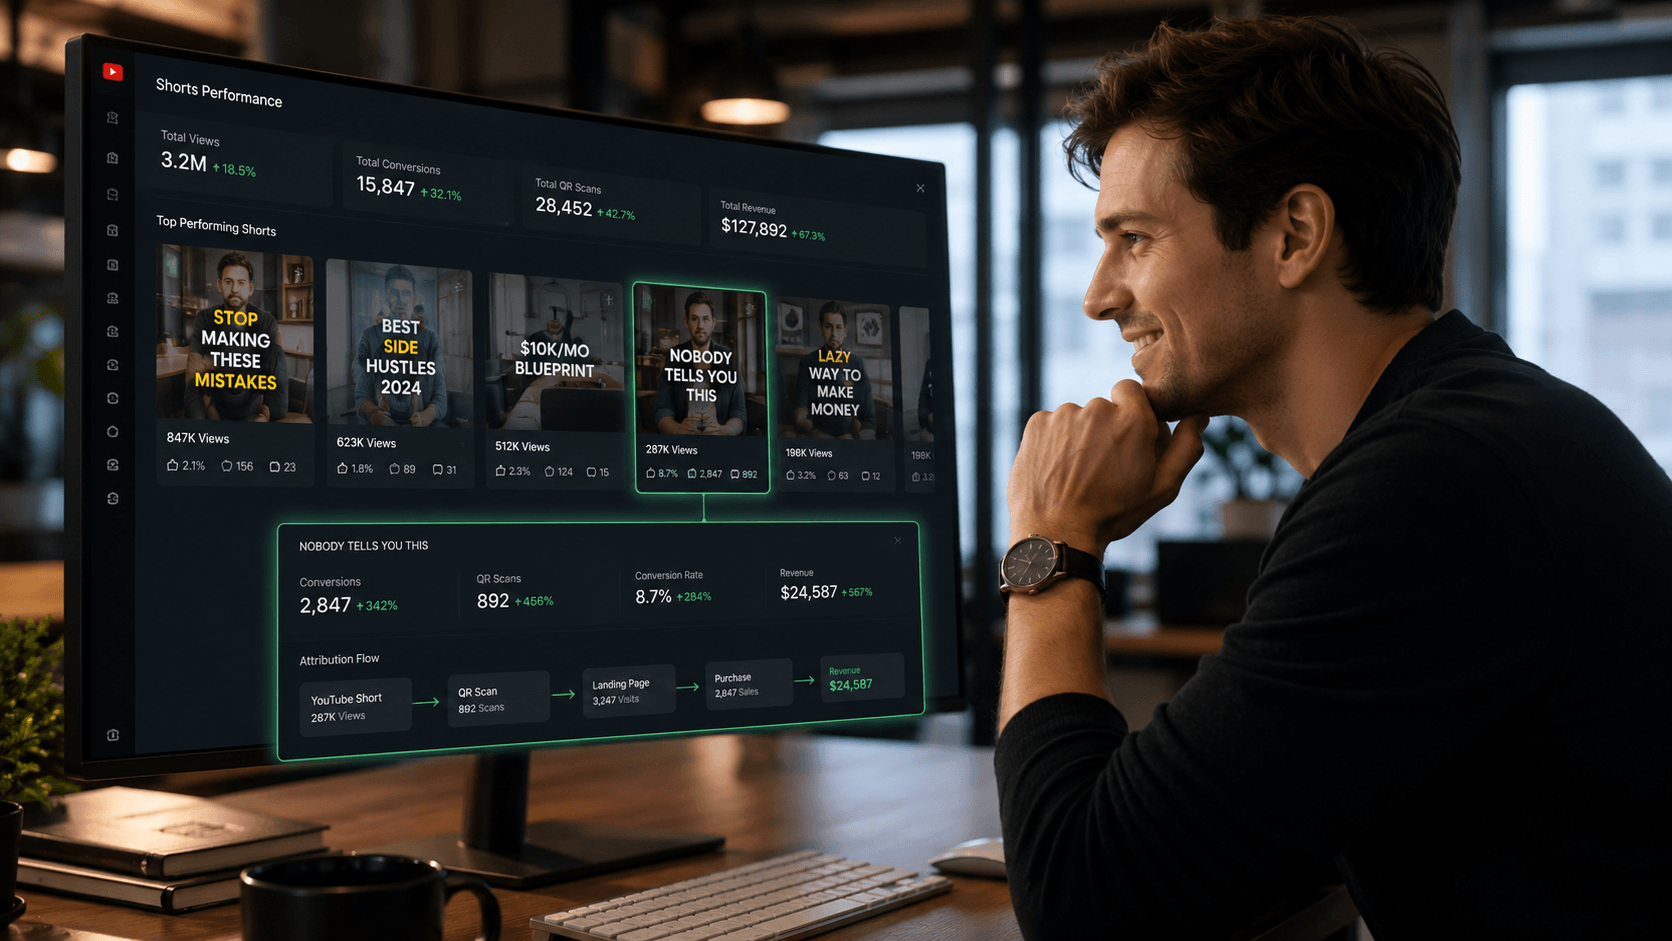
Give the session its own QR or campaign label in SnapScan, then review activity over a defined period. Separate your rehearsal scans where possible and note when the QR was visible. The scan activity and user engagement guide explains the product’s reporting workflow. [5]
A scan is an interaction, not proof of a purchase or booking. Use destination analytics, campaign parameters or your booking and checkout records to assess completed actions. If you use UTM parameters, keep a consistent naming convention and check that the destination and redirects preserve them.
Compare sessions with similar offers and reporting windows. Record QR visibility, CTA wording, viewer counts, scans and completed actions. Treat scans divided by viewers as a rough activity ratio unless the populations are comparable; repeat scans and later screenshot use can distort it. Reusing a code across channels also prevents clean Live-only attribution.
Change one practical variable at a time, such as graphic size or CTA wording. Use what you learn to improve the next broadcast. A visible QR can make the destination easier to identify, but relevance, usability and the landing page still determine whether people act.
A QR code provides a scannable route to a URL. It does not create a tappable hyperlink inside the Live video. Use a profile link or another supported sharing option as a fallback.
Yes. Print it or display its image on another screen within your phone camera frame. Keep it still, fully visible and large enough to scan from the viewer feed.
With Live Producer access, add the image as a source in compatible streaming software and send the composed feed to Instagram. If your mobile Live interface offers media sharing, test that option; otherwise film a physical display.
Yes. Use SnapScan’s QR-code or in-image options to prepare the code and its visual asset. Your camera setup or streaming software displays it during the Live; the graphic is not an Instagram link sticker.
On supported devices, viewers can use a screenshot with QR recognition or a compatible screen-recognition tool. The steps vary by phone. Opening the destination may interrupt Live viewing, so give viewers a fallback link.
Use clear space away from your face, product, captions and Instagram controls. Test the audience view with comments visible. There is no universal safe corner or size for every Live layout.
A dedicated QR can help identify scan activity from a session. To attribute purchases or bookings, you also need destination-side measurement. Reusing the code elsewhere or scanning saved screenshots can complicate attribution.
For a dynamic QR, use the destination-editing options available for the asset and test the update. Keep the new page consistent with the promise in the Live and any replay, since viewers may scan later.
Choose the page your viewers need, create the QR with SnapScan, and test it in the setup you will use for your broadcast. Give viewers a clear invitation and a fallback link so they can reach the same offer in the way that works for them.
Create your Live QR with SnapScan
Publisher material below is separate from the article body. Replace the numbered insertion markers with the approved images and captions before publishing. Use real product screenshots for tutorials; label illustrative layouts so they are not mistaken for Instagram interface screenshots.
Filename: instagram-live-qr-code-guide.webp
Placement: After the introduction
Production: Landscape 1600 × 1000. Show a creator demonstrating a serum, a visible QR graphic and a separate destination preview. Label the layout as an illustration.
Alt text: Creator demonstrating a product on Instagram Live with a QR graphic beside the product.
Caption: A visible QR can connect a Live demonstration with the matching destination.
Filename: instagram-live-qr-image-vs-sticker.webp
Placement: After Method 1
Production: Landscape 1600 × 1000 with two designs: full 9:16 offer graphic and compact QR sticker. Use the same CTA and destination. Keep codes crisp.
Alt text: Full vertical QR offer graphic compared with a compact QR sticker for a live stream.
Caption: Choose a full offer image or a compact QR graphic to suit your broadcast.
Filename: add-qr-image-instagram-live-obs.webp
Placement: After the image setup section
Production: Two actual OBS screenshots showing the Image source control and camera composition. Capture the current interface and remove account identifiers and credentials.
Alt text: OBS Image source and scene preview showing a QR graphic over a camera feed.
Caption: Add the QR as an image source before sending the composed feed to Instagram.
Filename: scan-instagram-live-qr-same-phone.webp
Placement: After same-phone scanning
Production: Three panels: screenshot, supported recognition tool, destination. Name the device and tool tested. Do not fabricate a universal Instagram Scan button.
Alt text: Three steps showing a Live screenshot, QR recognition and the linked destination.
Caption: A supported screenshot-scanning method lets viewers open the QR destination on the same phone.
Filename: instagram-live-qr-viewer-test.webp
Placement: After the testing section
Production: Actual viewer screenshot with comments visible and a readable code; pair with a closer crop. Obtain permission from participants and redact usernames.
Alt text: Instagram Live viewer screen with a QR code positioned clear of comments and the demonstrated product.
Caption: Verify the QR from the audience view, including comments and interface controls.
Export article images in a web-friendly format while keeping the code sharp. Use descriptive alt text, not keyword lists. If a QR is functional in a published image, include a conventional clickable destination link nearby. If it is only illustrative, label it clearly. Do not generate decorative QR patterns and present them as working codes.
Product mentions in the article link to the signup page. The opening introduction, creation steps, both design methods and closing CTA provide relevant signup opportunities. Avoid claiming an Instagram account connection, real-time overlay integration or Live-specific safe-area template unless those capabilities are confirmed.
Asset creation section: Manage your SnapScan assets
https://snapscan.link/blog/managing-snapscan-assets
Same-phone section: Scan a QR code from a video on your phone
https://snapscan.link/blog/how-to-scan-qr-code-from-video
Destination section: Add affiliate links to Instagram Reels
https://snapscan.link/blog/affiliate-links-instagram-reels
Measurement section: Scan activity and user engagement
https://snapscan.link/blog/monitoring-scan-activity-user-engagement
September 25, 2026
August 12, 2026